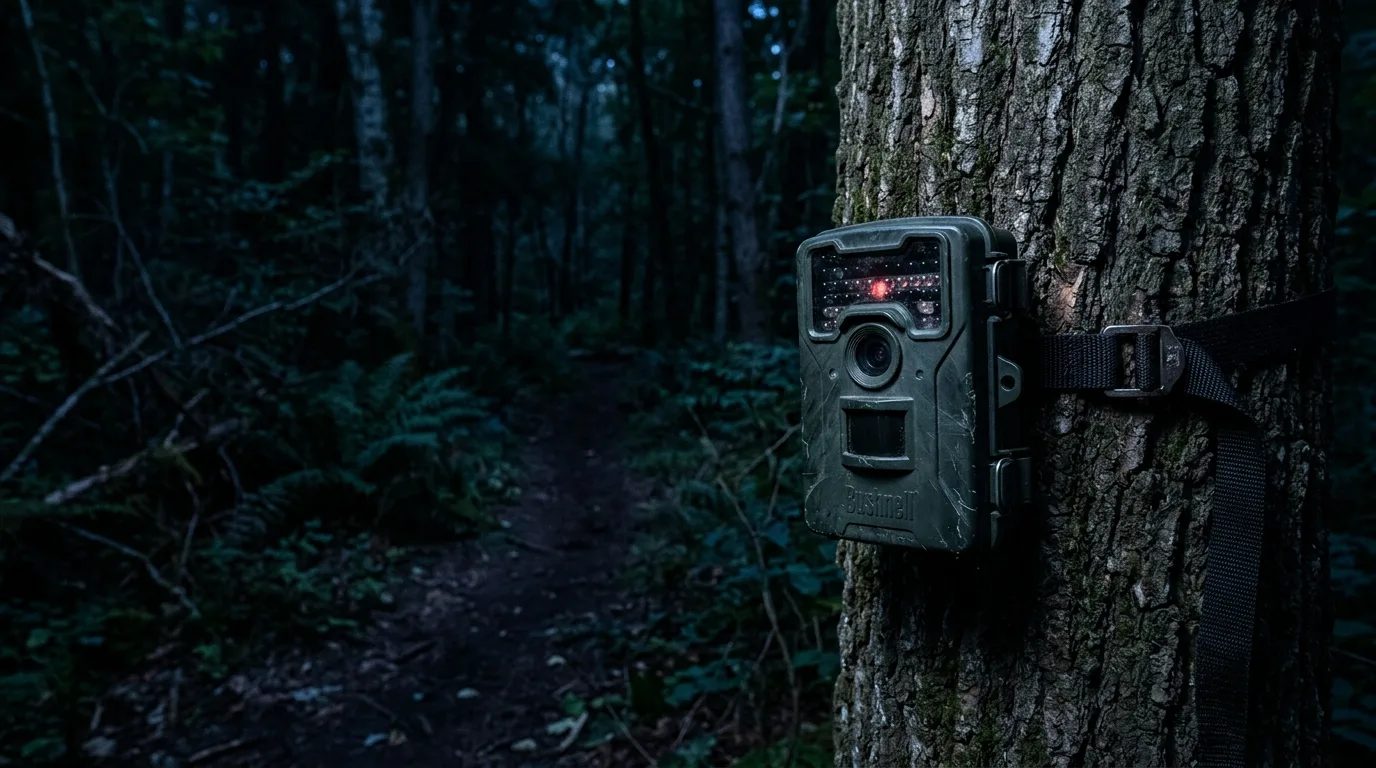
Here's the pattern almost every trail-camera owner runs into eventually. The daytime shots are crisp — a doe mid-stride, every hair sharp, color you could frame. Then the sun goes down, and the same camera in the same spot starts handing you ghosts: a smeared gray shape that might be a coyote or might be a big house cat, a raccoon's face blown to pure white while its body vanishes into black, or a frame so dark you only know something was there because the camera bothered to take the picture.
It feels like the camera broke. It almost never did. Night photos are hard for a reason that has nothing to do with the price of the camera and everything to do with physics — specifically, what happens when you try to photograph a moving warm-blooded animal using a burst of light your own eyes can't even see. Once you understand the three things going wrong (and they really are just three, in various combinations), you can read your bad night photos like a diagnostic readout and fix most of them with settings, placement, and a fresh set of the right batteries.
The short version: blur comes from the camera holding the shutter open longer at night to gather enough light. Washed-out close subjects and too-dark distant ones are the same problem — a fixed flash that can't be the right brightness at two distances at once. And a surprising share of "my camera died at night" cases are just weak batteries that can't drive the infrared array. Let's take them in order.
First, why night photos are a different animal
During the day, your camera works the way any camera does: ambient light pours in, the sensor reads it, you get color. At night there's no usable visible light, so the camera makes its own — almost always with an array of infrared (IR) LEDs that flood the scene with light sitting just past the red end of what we can see. Camera-trap IR illuminators emit "mostly in the range of 700-1000 nm," and because that light falls outside the visible band, "the images taken by these cameras are often in grey-scale, or may have a reddish-pink tinge".
That grayscale isn't a stylistic choice or a fault — it's baked into how the sensor works. A color sensor sees color because each pixel sits under a tiny red, green, or blue filter. To shoot in the dark, the camera physically slides away an internal IR-cut filter so infrared can reach the sensor, and at that point the trick stops working: "since the IR light leaks through all three color filter types (RGB) on the sensor, the color information is lost and the camera can no longer deliver a color image". So the first thing to make peace with is that a normal IR night photo is supposed to be black-and-white. The problems worth fixing are the blur, the exposure, and the muck — not the missing color.
There's also a hard truth buried in the engineering: silicon, the stuff camera sensors are made of, just isn't very good at seeing infrared. A standard sensor layer absorbs only a small fraction of the IR light hitting it — on the order of a tenth at 850 nm in one detailed study of the physics — which is why manufacturers go to elaborate lengths to claw back night sensitivity. You don't need the semiconductor details. You just need the consequence: night vision starts from a light-starved baseline, and every choice from there is about managing scarcity.
A normal infrared night photo is supposed to be black-and-white — the problems worth fixing are the blur, the exposure, and the muck.
Blur: it's the shutter, not the trigger
This is the single most misdiagnosed problem in trail cameras, so it's worth being precise. People see a blurry buck and blame "trigger speed." Trigger speed is the wrong suspect.
Trigger speed is how fast the camera wakes from sleep and fires when the sensor detects something — "how fast a trail camera goes from sleep mode to active mode". If the animal is anywhere in the frame, the trigger did its job; it caught the moment. Shutter speed is something else entirely: "the amount of time that the digital sensor is exposed to light to capture the image". Blur is a shutter story.
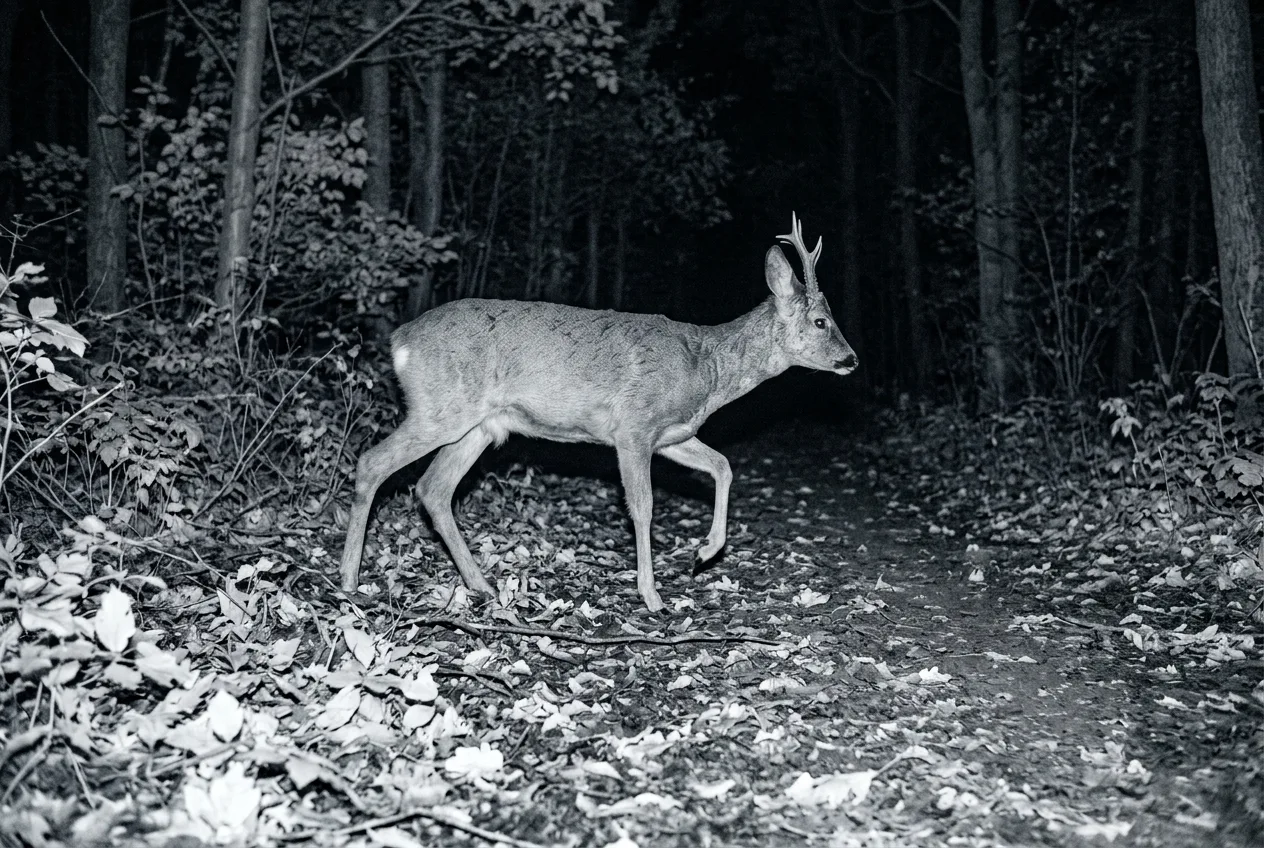
Why does the shutter behave differently at night? Because the camera has to gather enough light to make a picture, and at night there's far less of it. So it holds the exposure open longer. The numbers are startling once you see them spelled out: the same scene that "may only need 1/60 of a second of exposure during the day requires ½ of a second exposure for night photos". Half a second. As Spypoint's own write-up puts it, set the stopwatch on your phone and see how far you can move in half a second — that movement is exactly what shows up as a smear on the photo.
Browning's engineers describe the same chain in plain terms: "the more light you have available, the faster the shutter speed can be. The less light you have available, the slower the shutter speed must be". That's why your spectacular action shots — the deer mid-leap, the bird on the wing — are almost always daytime frames. At night the camera simply can't freeze motion the way it can at noon.
And here's the trap that makes night blur feel unfixable: you can't just force a faster shutter. "A short enough exposure to stop this from happening would have resulted in an underexposed image" — that is, dark to the point of useless. The camera is constantly trading between blurry but bright enough to see and sharp but too dark to see, and at night that trade-off gets ugly. The two photos Spypoint shows, same spot and nearly the same time, make the point better than any explanation: the buck moving briskly is a blur; the one ambling through is crisp. The difference wasn't the camera. It was the animal's speed during that half-second.
What you can actually do about blur:
- Aim at where animals move slowly, not fast. A pinch point, a feeder, a scrape, a water's edge — somewhere they pause — gives the shutter a fighting chance. Reserve fast trails for daytime-dominant setups.
- Use a low-glow (850 nm) camera if blur is your enemy. More on this below, but 850 nm puts more light on the subject, which lets the shutter run faster and "moving animals are captured with minimal blur".
- If your camera offers multiple flash or night-LED modes for blur reduction, use them — just know it costs battery life.
The ghosting cousin: rolling shutter
Sometimes the distortion isn't a soft smear but something stranger — a leg that bends the wrong way, a body that looks sheared or stretched. That's not classic motion blur; it's rolling shutter. Most consumer camera sensors don't capture the whole frame at one instant. They read it "line by line," top to bottom, with a slight time offset between rows. If the subject moves meaningfully between the moment the top of the frame is read and the moment the bottom is, the image skews — "rolling shutter distortion can happen to any camera with a CMOS sensor due to environmental vibrations or fast-moving objects".
The reason this gets worse at night ties straight back to the shutter problem: slower capture means more time for the subject to move mid-readout. As Basler's sensor guide notes, "the lower the frame rate of a rolling shutter sensor, the more visible the distortions in moving objects become," while a static object shows no such artifact at all. The fixes are the same family as for blur — anything that speeds capture up (more light, a faster setting where available) helps.
The camera is constantly trading between blurry-but-bright-enough-to-see and sharp-but-too-dark-to-see, and at night that trade-off gets ugly.
Washed out up close, pitch dark far away — one law explains both
Open a folder of night photos and you'll see two complaints that look opposite: animals right in front of the camera are blown out to a featureless white blob, and animals out at the edge of the clearing are barely visible. These aren't two problems. They're the same problem, and the culprit is a piece of physics called the inverse-square law.
It's simpler than it sounds. Light from a single source spreads out as it travels, so it gets diluted fast. Double the distance from the flash and that same light is now spread over four times the area — so the subject gets a quarter of the light. The intensity falls off "inversely proportional to the square of the distance". The brutal part is how front-loaded the falloff is. By one worked example, moving a subject from one meter to two meters loses a full 75 percent of the light hitting it — but moving from four meters to ten loses only about five percent. The light is savage up close and lazy far away.
Now picture your trail camera's fixed IR flash. It fires at one brightness, every time. Set that brightness to nicely light a deer at four meters, and a raccoon that wanders up to one meter gets slammed with far more light than the sensor can handle — pure white. The fox out at eight meters gets a thin scrap of light — barely there. The photography literature describes this exact situation: with subjects at different distances from one light, "the front subject may be overexposed whereas the one in the back remains underexposed". That sentence is your washed-out-raccoon-and-invisible-fox photo, written by a studio photographer who never touched a trail camera.
The security-camera world hits this wall constantly and names it bluntly: when the IR kicks in, it can "white out large portions of the image," and what isn't blown to white is often "blotted out in blackness" right next to it. Built-in IR is especially prone to overexposing whatever's nearest the lens.
So what do you do, given that the flash can't be two brightnesses at once?
- Mind the distance — there's a sweet spot. For medium-to-large mammals, trail cameras "produce clearer images within commonly used ranges, such as 3 to 5 meters". Set the camera so the action you care about happens in that band, not jammed against the lens and not out at the ragged edge of the flash.
- Don't trust the spec-sheet flash range. Manufacturers list a detection range and a flash range separately, and they often don't match — one popular camera advertises 30 m detection but 40 m flash, another 25 m and 30 m. Worse, real-world reach runs short of the brochure: published IR ranges "are often optimistic, with real-world performance typically 30–50% shorter". Plan for less than the box promises.
- Look for adaptive or "smart" IR if close-up whiteout is your recurring problem. This is the real fix, and it exists: smart-IR systems automatically dim the LEDs for nearby subjects, so "when an object is close to the camera, the IR intensity is reduced to prevent overexposure and glare", keeping exposure even across distance. Higher-end cameras may also let you manually turn the flash power down.
- Watch what's in the frame's foreground. A bright leaf, a reflective sign, or even an insect on the lens can bounce the flash straight back and overexpose the shot — "IR rays reflecting off an insect and back onto the lens can also cause overexposed footage". A clear lane in front of the camera helps more than people expect.
850 nm vs 940 nm: the flash choice that quietly decides your night quality
If you only change one thing after reading this, let it be understanding which kind of IR flash your camera uses — because it sets a ceiling on night quality before you touch any other setting.
Trail-camera IR comes in two flavors, named by wavelength. Low-glow (around 850 nm) sits closer to visible light; when it fires, someone looking right at the camera sees a faint red glow, "a little like a standby light on a television". No-glow (940 nm, also sold as "black flash" or "covert") is further into the infrared and effectively invisible. That invisibility is the entire selling point of no-glow — great for not spooking pressured game or tipping off a trespasser.
But invisibility isn't free. Push the wavelength out to 940 nm and you lose light — both because the LEDs are less efficient and because, as we saw, the sensor itself is less sensitive out there. NatureSpy puts a number on it: a no-glow camera loses "around 30% of the IR light that the same number of low-glow LEDs would give off". Tech-LED's engineering write-up agrees — 850 nm sits "near the peak responsivity of common silicon detectors," so it "produces a brighter image and longer range for night vision compared to a higher wavelength like 940 nm". The CCTV-illuminator world is even more specific: sensors are "often 40–60% more" sensitive to 850 nm than to 940 nm.
That lost light shows up in exactly the ways this article is about. With no-glow, the camera "has slower shutter speeds on night photos resulting in a blurrier image," and it cranks up the exposure gain, so "night images look greyer and grainier". Browning's own comparison says the same: the invisible-flash frame is "a little grainier and has a little more white noise," because that flash "simply does not illuminate the subject matter as much". Stack up the image-quality ranking and it's consistent across makers: daytime beats white flash beats low-glow IR beats no-glow.
So how should you choose? It comes down to a single trade — stealth versus picture quality:
| You care most about… | Pick | Why |
|---|---|---|
| Sharp, bright, longer-range night images | Low-glow (850 nm) | More light on the subject, faster shutter, less grain, better reach |
| Not being seen — pressured game, security, trespass | No-glow (940 nm) | Invisible flash, at the cost of dimmer, grainier, shorter-range shots |
One nuance worth knowing if your subjects are birds: most mammals see the red glow of low-glow and the "invisible" no-glow about the same, so for general wildlife you may as well take the better image quality of low-glow. Birds are the exception — they have IR sensitivity closer to ours, so they can see low-glow but not no-glow. For most people watching deer, foxes, and the like, low-glow's quality edge is the easy call unless stealth genuinely matters.
850 nm versus 940 nm sets a ceiling on your night quality before you touch any other setting.
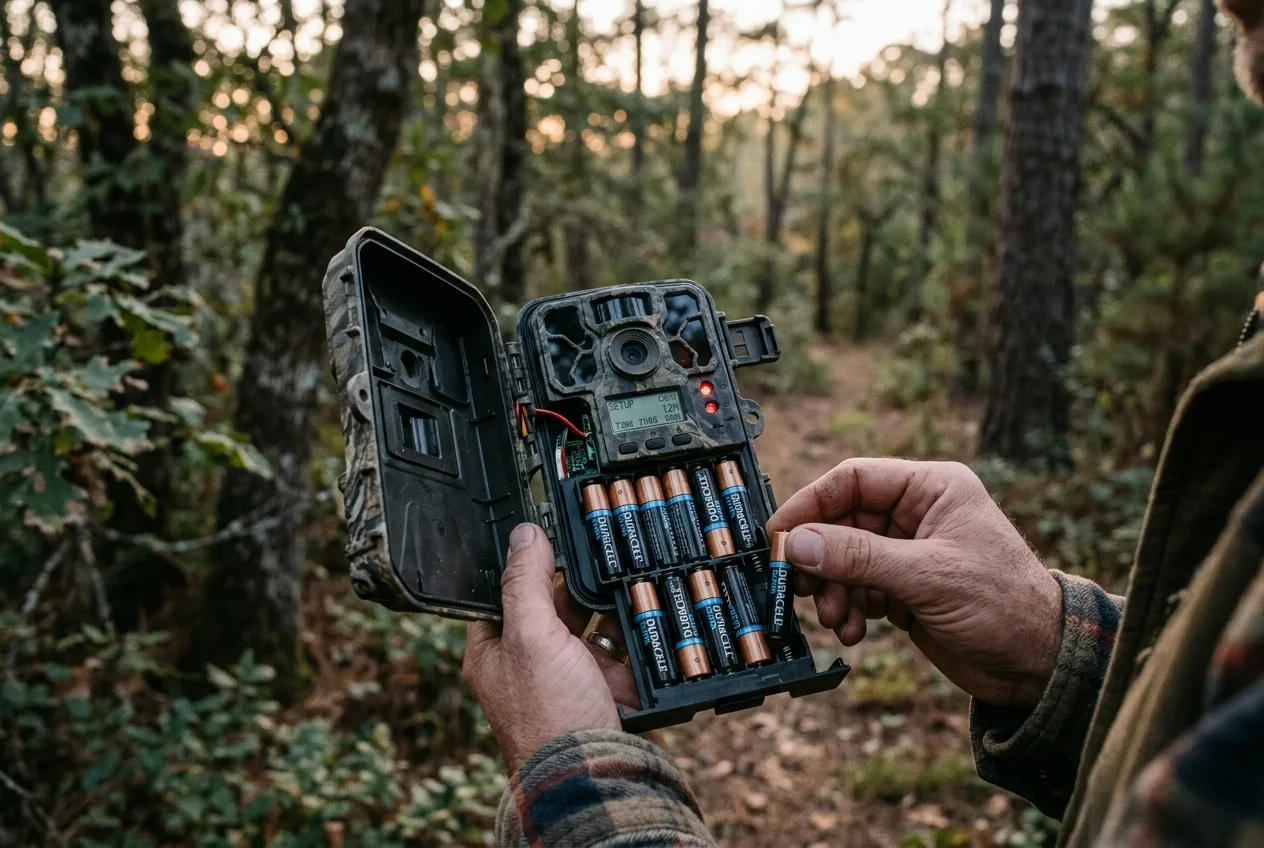
When the camera "dies" at night, look at the batteries first
This one surprises people, so let's be blunt about how common it is: by one experienced retailer's count, "around 60% of all issues people have with their trail camera are down to flat, low power, or poor-quality batteries". If your night photos suddenly went dark, or your camera takes daytime shots fine but nothing after dusk, or your night videos cut short — change the batteries before you do anything else.
The reason a half-full battery can fail at night is about load, not the meter reading. Firing the IR array is the most power-hungry thing a trail camera does. Weak or cold cells can comfortably run the screen and the detection circuit — so the meter looks fine — but the moment the camera triggers and the LEDs draw current, the voltage sags: "the LEDs will come on, it will start recording, and then the batteries will start to wobble and stop". The battery recovers, the camera turns back on, and it limps through the same cycle until it's truly flat. The tell-tale symptom right before that point is literally "dull LEDs or infrared flash brightness" — a darker-than-normal night image is often a battery warning, not a camera defect.
Two practical wrinkles:
- Cold makes it dramatically worse, and battery chemistry matters. Alkaline cells "can only output around one fifth of their power when it gets below 5 °C". If temperatures sit below freezing, expect battery life to fall off a cliff. Lithium AAs don't care about the cold, hold a higher voltage, and last far longer — they're the single best upgrade for reliable night performance.
- Some battery brands and types now misbehave in trail cameras specifically. Field experts report that certain batteries "can cause trail cameras not to trigger or the flash not to go off at nighttime once the batteries begin to get low — say around 30%," and the same can happen with rechargeables. Rechargeable AAs can also reduce flash brightness and detection range even when charged. When in doubt, put in fresh lithiums and see if the night problem evaporates.
Before you blame the camera, change the batteries — about six in ten trail-camera problems come down to weak or poor cells.
The unglamorous culprits: fog, dirt, and a stuck filter
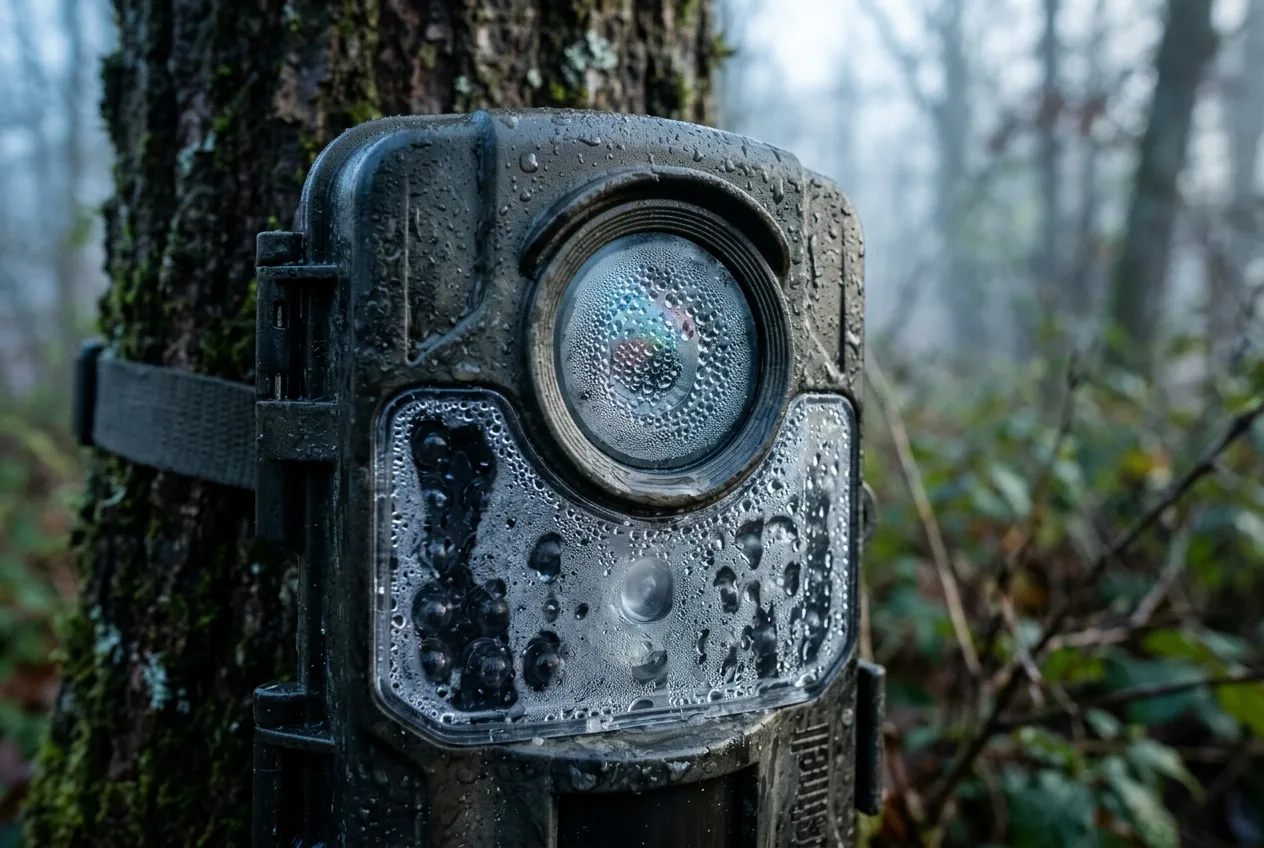
Sometimes the flash is fine, the batteries are fresh, and the photos are still a foggy, soft, washed-out mess. Now you're looking at the lens itself.
Condensation is the classic. It forms because of dew point — "the temperature at which water vapor in the air condenses into water" — and because "surfaces don't change temperature as rapidly as the air," a cool lens fogs while the air around it is still clear. More precisely, a lens fogs when its front glass "dips a few degrees below the dew point," and it's "particularly" bad when "there is no air movement". The effect on the image is exactly what you've been seeing: dew "causes the image to wash out and look out of focus". There's a memorable cautionary tale from the astrophotography world — three photographers shooting side by side overnight, and the one who forgot his lens hood "got only about 5 exposures out of the hundreds shot before the lens fogged over," while the two with hoods stayed clear.
What helps:
- Keep moisture out of the housing with desiccant. Silica-gel packets "absorb up to three times their weight in moisture" — toss a couple inside and replace them periodically. This also protects against corrosion of the batteries and circuit board over time.
- Use any recess or hood the camera gives you, and pick your spot. Stagnant, humid air near water is the worst case; "just a slight breeze keeps the condensation away". A site with a little air movement fogs far less than a sheltered hollow by a creek.
- An anti-fog wipe on the lens helps, applied with a microfiber cloth in concentric circles from the center out.
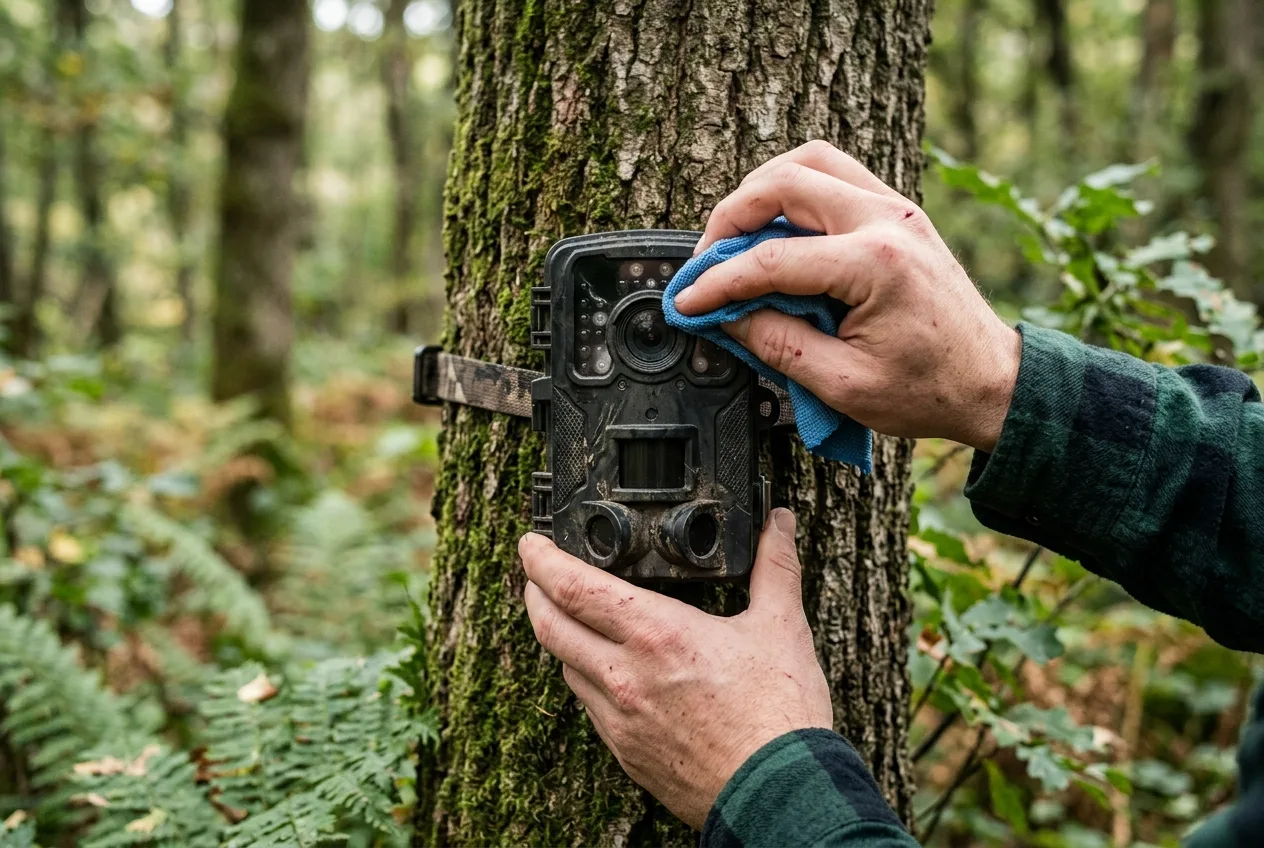
A dirty lens is even simpler and just as ruinous. After weeks in the field a camera "becomes home to some insects" and collects leaves and sap. Clean the lens, the sensor window, and the LED covers with a microfiber cloth — and remember "camera traps are weatherproof, not waterproof," so wring out any damp cloth thoroughly. A milky or cloudy night image often clears up with nothing more than a wipe.
Finally, the failure that masquerades as something else: a stuck IR-cut filter. That little filter is usually the only moving part in the camera, and it can jam. If it sticks in the "engaged" position — covering the sensor — then "nighttime photos will be very dark, because the stuck IR filter is preventing IR light from the flash from getting in," and people routinely mistake this for a dead flash. The giveaway is that the flash itself still visibly fires. The same fault stuck the other way produces the opposite symptom many owners have seen — a pink or reddish cast on daytime photos, because with the filter out of the way "the image sensor interprets the IR from the sun as extra red". If you see pink days or unexplained dark nights with a flash that's clearly firing, suspect the filter, not the LEDs.
A handful of other camera-side faults can mimic these symptoms, and they're worth knowing so you don't chase the wrong fix: an IR-LED driver transistor can overheat and fail, giving you "dark night shots" with no flash at all; a lens can slowly develop a soft, out-of-focus patch over time as the optics degrade; and water that gets inside the housing shows up as "condensation visible in front of the camera lens or LED flash window" — usually a gasket or seal problem. Most of these are out-of-warranty repairs, but recognizing them saves you from blaming the night when the hardware is the real issue.
A darker-than-normal night image is often a battery warning, not a camera defect.
A quick night-photo diagnostic

Put it all together and your bad night photos become readable. Match the symptom to the cause:
| What you see at night | Most likely cause | First moves |
|---|---|---|
| Soft smear on a moving animal | Slow night shutter (motion blur) | Aim where animals move slowly; try 850 nm / blur-reduction mode |
| Sheared or stretched body, bent legs | Rolling shutter + movement | Speed up capture where possible; avoid fast-movement spots |
| Close animal blown to white | Flash too strong up close (inverse-square) | Move the action back to ~3–5 m; use smart/adjustable IR |
| Distant animal too dark | Flash too weak at range | Bring subjects into flash range; don't trust spec range |
| Whole image grainy and gray | No-glow (940 nm) limits, or weak batteries | Consider 850 nm; fit fresh lithium AAs |
| Suddenly dark at night, flash dim | Weak/cold batteries under load | Fresh lithium batteries first |
| Foggy, soft, washed-out whole frame | Lens condensation | Desiccant, hood, airier site, anti-fog wipe |
| Milky or cloudy haze | Dirty lens | Wipe lens, sensor, LED covers |
| Very dark nights but flash fires; pink days | Stuck IR-cut filter | Likely a repair; rule out batteries first |
One more reality check worth keeping in mind: even two identical cameras in the same spot can perform differently. A field study tested cameras of the same make side by side and found detection probability "lower at night than during the day," with the gap varying by model — and in one striking case, two units of the same model at one site recorded wildly different results, one catching 9 real animals in 32 frames while its twin logged 2,459 photos for just 3 animals. Cheap recreational cameras vary more than pricey ones. So if you've done everything right and one camera still underperforms at night, it isn't always you.
A note on placement and the sun: a common piece of advice is to avoid aiming the camera where it stares into the rising or setting sun, which blows out daytime exposures. The sound version of that rule is direction-neutral — angle the camera away from the low sun's path (toward the nearer pole, broadly speaking) rather than memorizing a fixed compass heading, since which way the sun tracks depends on where you are.
Where the AI comes in
None of this makes your camera collect fewer junk frames — if anything, fighting night exposure means more triggers, more grain, more near-misses to wade through. That's the part software can actually take off your hands.
It won't un-blur a half-second exposure or rescue a washed-out raccoon — physics is physics. But it does mean the work of finding the keepers in a card full of marginal night frames stops being your job.
Frequently asked questions
Why are my trail camera night photos blurry but the day photos are sharp?
Because at night the camera has to keep the shutter open far longer to gather enough light — roughly half a second versus a fraction of that by day — and any movement during that window blurs. It's a shutter-speed issue caused by low light, not a fault in the camera or its trigger speed.
Why does my trail camera wash out animals that are close to it?
A trail camera's IR flash fires at one fixed brightness, and light intensity falls off with the square of the distance. A flash that correctly lights an animal a few meters away is far too bright at one meter, so close subjects blow out to white. Keep the action in the ~3–5 m sweet spot or use a camera with adjustable/"smart" IR that dims for close subjects.
Is 850 nm or 940 nm better for trail camera night photos?
For image quality, 850 nm (low-glow) wins — it puts more light on the subject, so photos are brighter, sharper, and reach farther, but it emits a faint red glow. 940 nm (no-glow) is invisible, which is better for stealth, but its images are dimmer and grainier and its range is shorter. Choose based on whether picture quality or going undetected matters more.
My trail camera works during the day but not at night — what's wrong?
Most often, weak batteries. Firing the infrared array is the most power-hungry thing the camera does, so cells that look fine on the meter can sag under that load and fail to light the scene. Try a fresh set of lithium AAs first; it resolves a large share of "dark at night" cases. If the flash clearly fires but nights are still very dark, suspect a stuck IR filter.
Why are my trail camera's daytime photos pink or red?
That's usually the IR-cut filter stuck out of position, leaving infrared from the sun reaching the sensor, which the camera reads as extra red. The same filter stuck the other way makes night photos very dark. It often needs a reset or repair, though it's worth ruling out a low battery first.
How do I stop my trail camera lens from fogging up at night?
Condensation forms when the lens drops below the dew point, especially in still, humid air. Put silica-gel desiccant inside the housing, use any hood or recess the camera offers, favor a site with a little air movement over a sheltered hollow near water, and apply an anti-fog wipe to the lens.