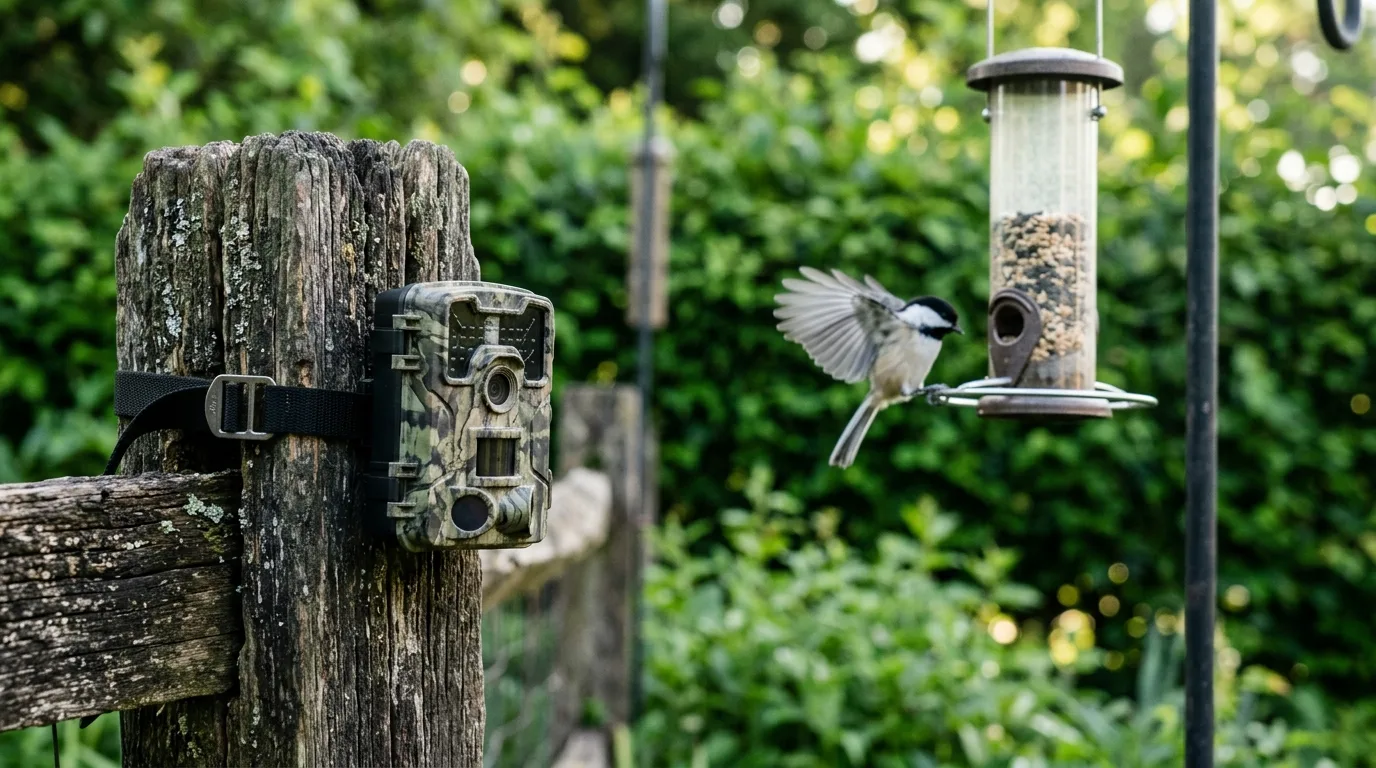
You set the camera on a fence post by the feeder, walked away, and came back a week later sure you'd have a card full of chickadees. Instead you have 312 photos of an empty perch, three of a swaying branch, and one perfect shot of the spot where a bird clearly just was — a blur of tail leaving the top corner of the frame. The feeder is emptier than when you left it. Something has been eating, and your camera barely noticed.
That experience is so common it's practically a rite of passage, and it's worth being honest about why it happens before we talk settings. A standard trail camera is not built for birds. It's built for deer. The entire commercial market grew out of North American deer hunting, so the sensors, the trigger timing, the focus distance — all of it is tuned to "anything with a heat signature similar to a deer". Small, fast, well-insulated birds are close to the worst-case target for that technology. One peer-reviewed test that ran six camera models on wild birds for nearly a year found an average successful-trigger rate of only about 20% — meaning four out of five birds the human observer watched walk into frame never tripped the camera at all.
So can you photograph birds with a trail camera? Yes — but only if you stop using it like a deer camera. The short version: get the camera much closer than you think (often 1–2 m, sometimes less), use a model that can actually focus that close, and pick your trigger strategy to suit the bird — frequently that means leaning on time-lapse mode instead of the motion sensor, because for a lot of birds the motion sensor is the weak link. Bait a predictable spot, frame for where the bird will land, and accept that "empty frames" are part of the deal. As one National Geographic photographer who does this for a living put it, you might "go days, weeks, or even months without a single good shot" — and then one morning it's "like Christmas morning". The rest of this guide is about tilting those odds in your favor.
Why birds defeat a standard trail camera
It helps to understand the enemy. Almost every trail camera triggers off a passive infrared (PIR) sensor, which fires only when two things happen at once: a change in heat and motion within its detection zone. A warm fox walks past cool background, the sensor sees the moving heat, the shutter fires. The fox lies down and stops moving — no trigger, even though it's still warm. It gets up and walks off — trigger again. Birds break this model in four specific ways.
They're small, so their heat signature is small. The amount of infrared a body throws off scales with its size, and body size turns out to be the single most important predictor of whether a camera detects a bird — more important than distance, temperature, or anything else. The WWF's conservation-tech guide is blunt about the limit: the old floor was about 1 kg, and even modern mid- and high-end sensors can only reliably detect something as small as 100 g "provided they are within 2 m". A chickadee weighs about 11 g. A field test quantified just how steep the size penalty is: passive-infrared detection probability ran roughly 0.18 for the smallest targets, 0.25 for small, 0.35 for medium.
They're insulated. Feathers are superb insulation — that's their job — and that insulation works against you here. It masks the bird's body heat from the sensor. Two birds of identical mass can register very differently depending on how much warm skin is actually exposed. Feathers, fur, even water droplets on a coat all "mask an animal's heat signal and reduce the effectiveness of PIR sensors".
They need a bigger temperature gap than they often have. PIR sensors want contrast. Field and lab work converge on a threshold: an animal generally needs to be a few degrees Celsius warmer than its surroundings to trigger reliably — one practitioner study cites "greater than 5°C," and a controlled experiment found detection probability collapsing to about 0.10 when the target was the same temperature as ambient, rising to 0.53 only when it was 14°C warmer. On a warm afternoon, a small bird may not clear that bar.
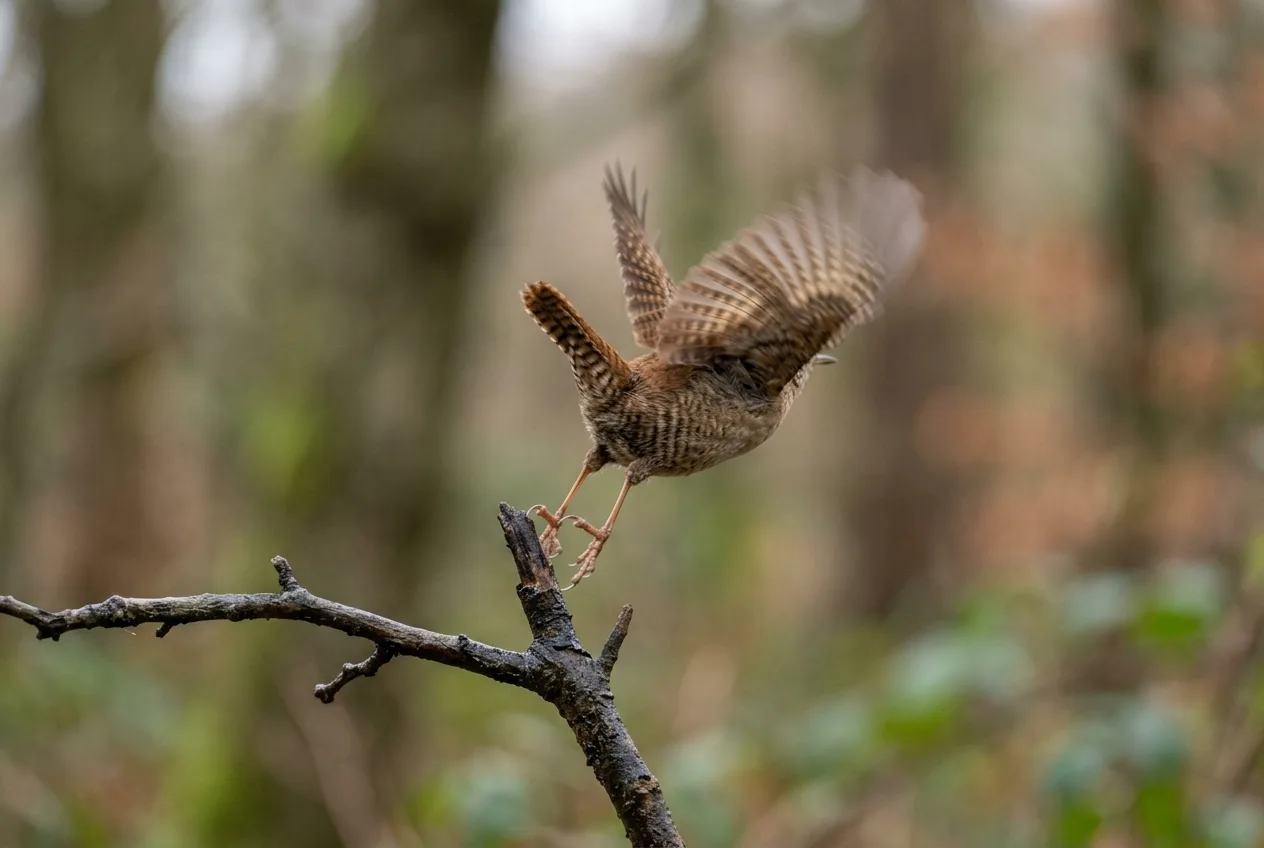
They're fast. This is the one that surprises people. Even when a bird does register, the camera may be too slow. A commercial trigger speed of about half a second is too slow for the fastest birds — a hummingbird flaps its wings roughly 50 times per second, flies at 15 m/s (about 34 mph), and can drain a flower's nectar "in less than one second," which is shorter than a single trigger cycle. And there's a hard ceiling that no setting fixes: in controlled tests, no camera — passive or active-beam — could capture a target moving at 1 m/s, because the subject left the frame before the shutter fired. Walking and pausing birds, the camera can handle. Birds in flight, mostly not.
Put those together and you get the 20% trigger rate from the bird study, and the false-negative problem more broadly: one practitioner survey found motion cameras missing 49–68% of verified animal visits compared with time-lapse reference footage, and recorded one camera that logged 2,459 images at a single spot — exactly three of which contained an animal. That ratio, flipped, is the birder's nightmare in a nutshell.
Walking and pausing birds, the camera can handle. Birds in flight, mostly not.
The one that matters most: get close, and use a camera that can focus there
If you take one thing from this article, take this: distance is the lever you control, and most people leave it set for deer.
The bird study put real numbers on it. Detection probability was about 60% at 1 m and fell to roughly 5% by 50 m. The authors built a table of how close you need to be for a given size of bird to hit a 50% capture rate, and the numbers are humbling — a finch-sized bird needs the camera at about 1.2 m, a blackbird- or magpie-sized bird about 2.5 m, a duck-sized bird about 3 m. For the very smallest birds (blue-tit-sized and under), the data couldn't even produce a 50% figure: the best they found was a 25% capture rate at 1.7 m, and it only got worse from there. The WWF guide lands in the same place from the other direction — sub-100 g species are detectable "only at distances less than 2 m". A UK conservation-tech retailer's rule of thumb is the practical translation: for small birds, place the camera 5–10 feet (about 1.5–3 m) away, not the 20–40 feet you'd use for deer.
But here's the catch that close placement creates: most trail cameras can't focus that close. They use a fixed focus set far out — often around 3 m — paired with a deep depth of field, which keeps a distant deer sharp but renders a bird at 1 m as a soft blur. NestWatch puts it plainly: trail cameras "are usually designed for detecting large animals and typically aren't ideal for close focusing". This is the real reason a few cameras are sold specifically for birds — they add close-focus lenses. In the six-camera test, the two bird-specific models (a Bushnell Natureview and a Wingscapes BirdCam) could be set up at 46 cm and 60 cm, and the study was built around exactly this: comparing cameras at the close distances where a small bird actually fills the frame and can be told apart by species. The classic camera-trapping review of birds lands in a related place — it concludes that camera trapping is "most appropriate for large, ground-dwelling birds, such as cracids and pheasants," precisely the slow, sizeable, ground-level subjects a standard rig handles best, which is the flip side of why small perching birds are so hard.
Practical takeaway: decide your target bird's size, then place the camera at the distance its size demands from the data above — and if you want anything closer than a couple of meters, you need either a camera with a genuine close-focus lens or an add-on close-up lens. A general-purpose deer cam pointed at a feeder 4 m away will give you tiny, soft birds even on the rare frames it bothers to trigger.
Trigger speed, recovery, and burst
Once you're close enough to detect the bird, the camera's timing decides whether you catch it or its shadow. Three numbers matter.
Trigger speed is the lag between detection and the shutter firing. Faster is better, always, and for birds it's close to non-negotiable. The reassuring news: most modern cameras trigger in around 0.5 seconds or less for photos, and photo triggers are always faster than video because there's less data to start writing. The sobering news: 0.5 seconds is the exact number that defeated researchers trying to film hummingbirds. For perched, feeding, hopping birds a sub-second trigger is fine; for anything in fast flight, no off-the-shelf trigger is fast enough, full stop. A study on small mammals found that trigger speeds anywhere in the 0.2–2.1 second range successfully captured walking animals — but none of those cameras could catch a stoat running at speed. Birds are the same story, only more so.
Recovery speed is how fast the camera is ready for the next shot. On good cameras, photo recovery can be near-instant — gaps of just 0.2–0.4 seconds — while video recovery is slower, around 0.5–0.8 seconds on the best models. For a feeder where birds come and go in bursts, fast recovery is what stops you missing the second and third visitors.
Burst / multi-shot stacks the odds within a single trigger. Instead of one frame, the camera fires three (or more) in quick succession, so if the first catches a wingtip, the second might catch the whole bird. The best evidence here is a citizen-science accuracy study, which recommends a burst of three consecutive photos specifically because it measurably improved the odds that a viewer (or an algorithm) could correctly identify what was in the frame — more frames means more chances at a clean, identifiable pose. Researchers running burrow cameras on seabirds have used the same trick, setting a small burst per trigger to make sure a brief visit doesn't come down to one unlucky frame. Turn burst on. It costs you almost nothing and buys you identifiable birds.
One more honest note on stills versus video: for raw detection they perform about the same, but video eats memory and battery and takes far longer to review, so unless you specifically want behavior, stills with burst are the efficient default.
Turn burst on. It costs you almost nothing and buys you identifiable birds.
The move that beats the PIR: time-lapse mode
Here is the counterintuitive heart of bird trail-camera work. If the motion sensor is the part that keeps failing on small birds, you can often get better results by bypassing it entirely and running the camera in time-lapse — taking a photo every X minutes regardless of motion. Manufacturers call this Field Scan, Plot Watcher, time-lapse, or timelapse mode.
The best evidence is a 2025 study that ran motion-trigger and time-lapse cameras side by side on breeding taiga bean geese across 19 sites in Finland, for two seasons. The result is the kind of thing that should change how you set up. The motion cameras, set to low sensitivity, detected geese in only 0.8% of the time periods they were running; the time-lapse cameras (one photo pair every 15 minutes) detected them in 2.3%. When the researchers compared the paired cameras directly, the motion sensor missed about 67% of the goose visits that time-lapse caught. Their conclusion: 15-minute time-lapse was "more suitable" than motion triggering for studying "seasonally elusive ground dwelling birds".
Why does a dumb timer beat a smart sensor? Because the timer doesn't care about heat signatures, distance, or feather insulation — it fires no matter what, so it captures birds the PIR would never have noticed, including ones farther away or off to the side of the detection zone. The Audubon photographer uses the same logic for vultures at a carcass: when she knows there'll be nonstop action, she runs time-lapse, because "a motion sensor would quickly drain the battery and fill up my card". Time-lapse is also how researchers catch animals that essentially never trigger a PIR at all — it's a known trick for reptiles and amphibians, and the principle carries straight over to small, cold-masked birds.
The trade-offs are real and you should weigh them. Time-lapse generates a lot of frames — the geese study produced roughly four times as many images from the time-lapse cameras as from the motion ones. It drains batteries and fills cards faster. And it can miss brief events that fall between intervals, which is the flip side of the coin: the time-lapse cameras in that same study still missed about 50% of the visits the motion cameras caught. That's the real lesson — neither mode catches everything. The geese researchers found the best results came from running both trigger types together, and that's genuinely the strongest setup if you can spare two cameras: time-lapse for broad, standardized coverage, motion for the close, predictable action.
A few practical settings:
- Interval: the geese study used 15 minutes; a shorter interval (say 5 minutes) catches more but multiplies your image pile. For a busy feeder you might go shorter still; for a nest, longer.
- Watch the daylight limit. Some cameras only run time-lapse during daylight hours, so check your model's manual before you count on overnight coverage.
- On cameras where you can't turn the PIR off in time-lapse mode, researchers have literally covered the sensor with opaque tape or rubber bands to stop it firing redundantly.
Here is the counterintuitive heart of bird trail-camera work.
Attracting birds and framing the shot
A camera can only photograph a bird that shows up, and the whole game is making birds reliably appear in one small, pre-focused spot. This is where birding instincts matter more than camera specs.
Bait the frame — thoughtfully. The bird study attracted a full range of species with feeders stocked with sunflower seeds, peanuts, apples, and mealworms, plus shallow water for drinking and bathing. A backyard feeder or birdbath is, in the Audubon photographer's words, "just as productive" as an exotic location and "a great place to test your setup". Water is a magnet for species that ignore seed. (An ethics note worth stating: Audubon's guidance distinguishes between a feeder or water source — normal backyard provisioning — and baiting predators. Luring hawks, owls, or other raptors with live or dead animal bait is off-limits, as is setting up over a fresh kill to draw a predator in. Feeding songbirds at a feeder is fine; baiting a predator for a dramatic shot is not.)
Think like a bird. The most useful trick in the literature isn't a setting at all — it's observation. Does that kingfisher hunt from the same branch? Does the quail family cross the same gap each morning? Birds are creatures of habit, and if you can predict the perch they'll use or the patch of grass they'll land on, you can aim a close-focus camera at that exact spot. Looking for fresh footprints, droppings, or feathers around a pond tells you where the action is even when no bird is present. A perch placed in front of the lens — a bare branch a bird wants to land on — turns a random feeder into a predictable stage.
Frame and focus for a spot, not a scene. Because you won't be behind the camera, you compose in advance. Picture where the bird will be and how big it'll fill the frame, then switch the lens to manual focus and focus on that spot — using your hand, a rock, or a stick of roughly the bird's size as a stand-in — and don't move the camera afterward. Set as deep a depth of field as the light allows, since you can't guarantee the bird lands exactly where you planned, and use auto ISO to handle changing light through the day. And aim for the bird's actual height, not deer height: a camera mounted high and angled for a passing deer can sail right over a small bird feeding on the ground, so set it level with where your subject will be.
Give birds time to get used to it. That big, shiny, eye-like lens is alarming to a wild bird. Build the setup gradually over a few days, camouflage it with netting or just mud and piled branches, and tuck it into natural features like a fallen tree so it blends in. The bird study deliberately set feeders out and let birds habituate "for some days" before introducing the cameras.
Mind the sun. Face the camera so the light works for you, not against you — NestWatch recommends aiming it away from the midday sun (north in the northern hemisphere, south in the southern) where practical, to avoid glare and harsh backlighting. And resist the urge to "clean up" the shot by trimming vegetation around a nest: that exposes the nest to predators, so find a clear sightline instead of cutting one.
This is where birding instincts matter more than camera specs.
Sensitivity, false triggers, and battery reality
If you do rely on the motion sensor, sensitivity is your main dial — and the right setting genuinely depends on the situation. The terminology differs by brand (Browning calls it "Motion Detection," Bushnell "Sensor Level"), so check your manual. For small birds with weak heat signatures, higher sensitivity is usually the right call, because you need every scrap of detection you can get — the nest-box study ran its PIR on "High" specifically to pick up "small differences in temperature between the bird's body and the surrounding area". But high sensitivity has a cost: false triggers. A windy, sunny day with sunlight dappling through moving leaves can fire the camera endlessly, and vegetation within a few feet of the sensor is a classic culprit. False-positive rates in one field study ranged from 36% all the way to 99% depending on the site. If you're drowning in empty frames from wind and foliage, drop the sensitivity and clear vegetation away from the sensor's view (not the nest's cover).
Whatever you choose, plan for battery and storage drain, because a busy feeder or nest triggers constantly — hundreds or thousands of times a day. In high-activity conditions one study burned through eight AA batteries in three days despite a rated 12-month life. NestWatch's countermeasures are sound: use AA lithium batteries, and consider deliberately lowering sensitivity or switching to time-lapse (say one photo an hour) to cut both battery drain and the pile of images you have to sort. One last image-quality tip that surprises people: shooting at your camera's lower resolution setting often looks better, because most trail cameras have a true sensor of only 2–5 MP and "boost" higher numbers with interpolation that just adds noise.
Flash: infrared, always, for birds
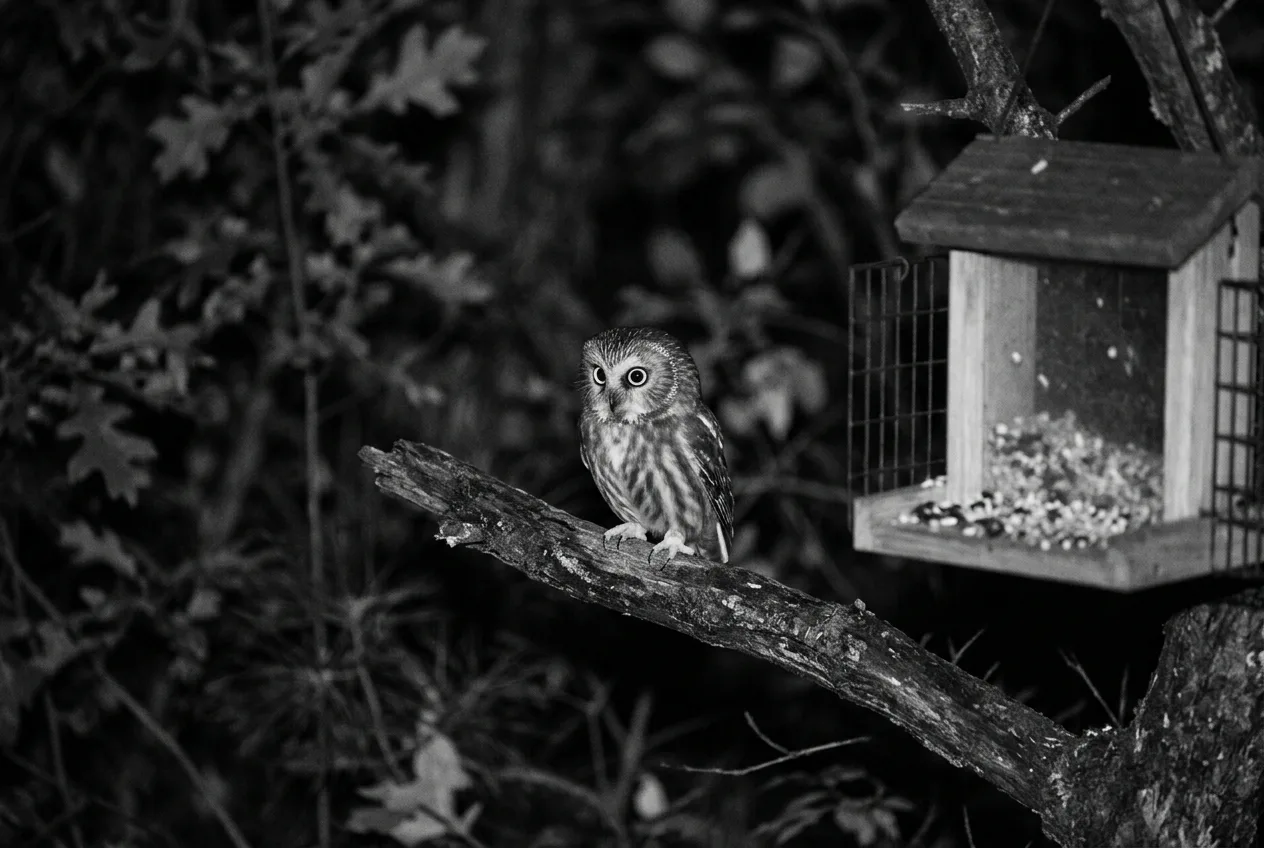
For night or low-light birds, the flash question has a clear answer: use infrared (no-glow), never a visible white flash. The reasoning is partly image quality and partly ethics, and they point the same way.
Birds, like us, can be functionally blinded by a bright flash in the dark. A Cornell physiologist explains that a flash saturates the eye's photoreceptors and causes "functional blindness" that takes 5 to 30 seconds to clear — and during that window a nocturnal bird "could not effectively hunt," or might collide with an obstacle in flight. Repeated flashes may cause longer-lasting "flash blindness". That's why Audubon's ethics guidance is explicit: "Never use direct flash, which may temporarily blind owls; a flash with a filter that lets only infrared light through is acceptable". NestWatch is equally firm for nests — do not use white flash, because "birds are especially sensitive to disturbance at night" and repeated flashes can cause abandonment.
Infrared sidesteps the problem because most animals can't see it, so the flash doesn't disturb them. NestWatch's plain-language version: "birds, like people, cannot see or feel infrared light and are not bothered by it". The trade-offs are worth knowing. IR images are black-and-white, because infrared only activates the red channel of the sensor — so if you need color for species ID, that's a real limitation. And no-glow IR (the kind with no visible red glow at all) costs you roughly 30% of the flash's brightness and range versus low-glow, and forces slower shutter speeds that can blur a moving bird. For most birding, the small image penalty is well worth not stressing the birds. While you're at it, disable any visible power-indicator LED on the camera — even a small glowing light can spook a bird at the nest.
Nest boxes and burrows: a special, rewarding case
One setup genuinely plays to a trail camera's strengths: putting one inside or right at a nest box or burrow, where the bird is close, slow, and predictable. This is where the technology shines, and it's well documented.
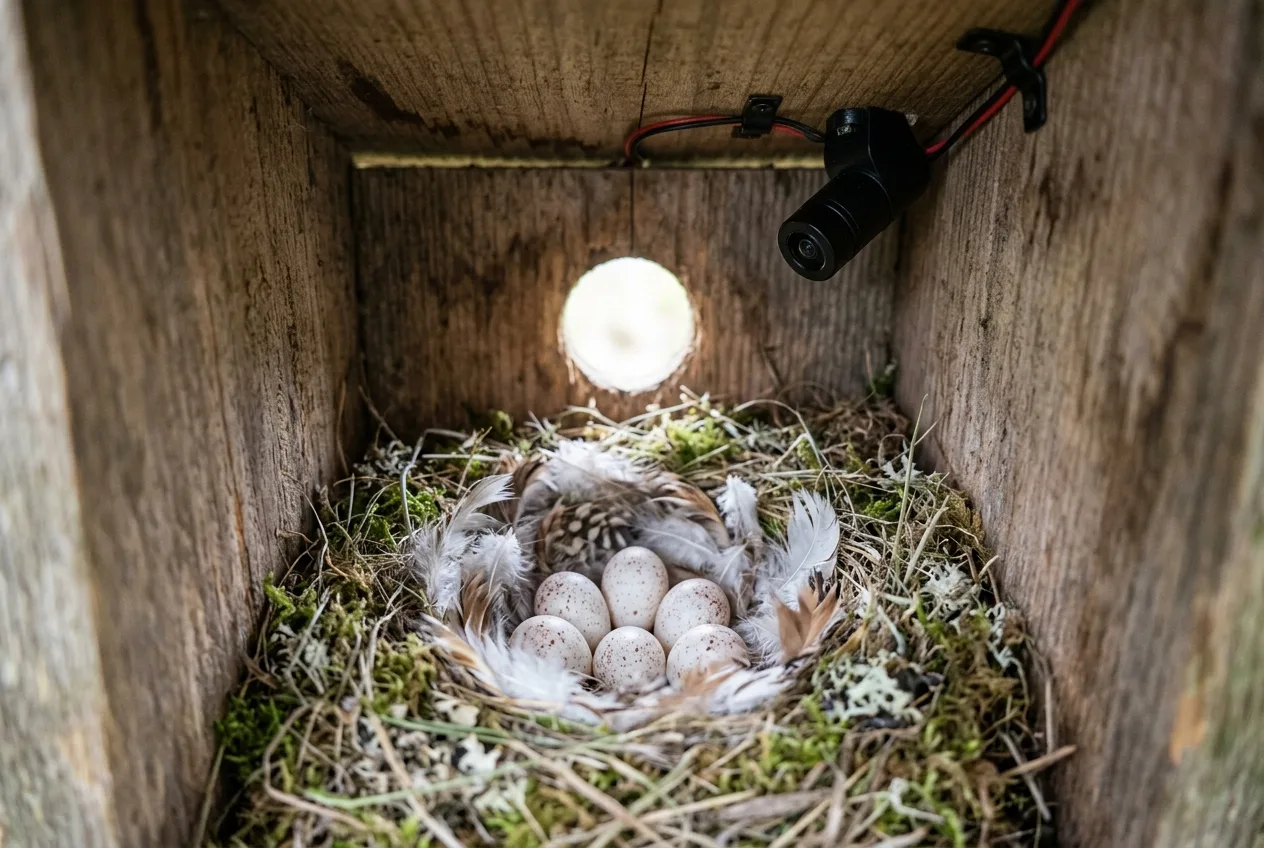
The key constraints are focus distance and flash. A study that mounted off-the-shelf trail cameras inside Great Tit nest boxes used a Bushnell Natureview with a 250 mm lens that focuses down to 25 cm, set so the lens sat 30 cm from the nest floor — and even then the IR flash overexposed everything at that range until the researchers covered the LEDs with "double layers of semi-transparent black plastic wrap". They ran it in time-lapse (Field Scan) at 1-minute intervals and detected the first egg in 85% of nests, cutting total fieldwork time by about 75% versus opening boxes by hand. They also flag a cheaper purpose-built option, the S8080, which focuses to 12 cm and has a built-in switch to turn off the PIR — both genuinely useful for box work. A Raspberry Pi-based DIY rig built for storm-petrels hit similar marks: a 160° fisheye that focuses at about 15 cm, mounted on the nest rim under the lid, recording 30-second clips with 10-second gaps, with 84% of deployments usable.
For monitoring a nest from outside with a normal trail camera, NestWatch's stand-off distance is 6–10 feet — close enough to see the action, far enough that a non-close-focus camera can still render it, and far enough not to crowd the birds. Install the camera before birds start nesting (or only after eggs are laid, depending on the program) and keep every nest visit to one or two minutes to avoid causing abandonment. One reassuring finding for the squeamish: a meta-analysis of 19 studies concluded that camera-monitored nests "generally don't experience increased predation," and may even fare slightly better — with one notable exception, that in very open habitat like arctic tundra, a camera can attract perching predators like corvids to the nest. If you're contributing data, programs like Cornell's NestWatch and the BTO's Nest Record Scheme — the latter spanning nearly 750 volunteers monitoring over 35,000 nests a year — give your footage scientific weight, and they have specific protocols for camera use.
This is where the technology shines, and it's well documented.
What's realistic — and how to spend less time sorting empties
Let's set expectations honestly, because that's most of the battle. A standard trail camera will photograph birds that perch, feed, hop, and pause within a meter or two of a close-focusing lens, especially at a feeder, water source, perch, or nest, in cool conditions, with burst on and ideally time-lapse backing up the motion sensor. It will mostly fail on birds in fast flight, on the very smallest songbirds at any real distance, and on hot afternoons when their heat barely separates from the background. Hummingbirds and other fast specialists need a fundamentally different rig — researchers had to separate the sensor from the camera and bolt on a high-speed video camera (200+ frames per second) and a mechanical shutter trigger to catch them at all. That's a project, not a setting.
For attracting the birds in the first place — the other half of getting good shots — see our companion guide. How to Attract More Birds to Your Yard (and Catch Them on Camera) And if you're trying to tell apart the species your camera does catch, our field guides to bird identification can help. How to Identify Birds by Sound: A Beginner's Guide to Songs and Calls
Frequently asked questions
What's the best trigger speed for a trail camera for birds?
As fast as you can get — under 0.5 seconds, which most modern cameras meet for photos. But trigger speed alone won't save you with fast birds: even the quickest off-the-shelf cameras can't catch a bird in fast flight, because it leaves the frame before the shutter fires. Fast triggers matter most for perched and feeding birds, where a quick recovery speed (0.2–0.4 seconds for photos) also helps you catch the next visitor.
How close should a trail camera be to photograph small birds?
Much closer than for mammals — roughly 1–3 meters (about 5–10 feet) for small birds, versus the 10+ meters you'd use for deer. A finch-sized bird needs the camera around 1.2 m for a coin-flip chance of a capture; sub-100 g birds are only reliably detected within 2 m. Just remember most cameras can't focus that close without a special close-focus lens.
Is time-lapse or motion-trigger better for birds?
For many birds, time-lapse actually wins. A timed photo every 15 minutes catches birds the motion sensor misses, because the timer doesn't depend on the bird's weak heat signature. The catch is far more images to review, and time-lapse can miss brief events — so running both modes together gives the best overall results if you can.
Will a regular deer trail camera work for birds?
Sometimes, but poorly out of the box. It's built for deer-sized heat signatures and focuses too far away, so small birds often don't trigger it and look soft when they do — one test saw only about a 20% trigger rate on wild birds. You'll do far better moving it much closer, turning on burst, leaning on time-lapse, and ideally adding a close-focus lens.
Should I use infrared or white flash for night bird photos?
Infrared, essentially always. A white flash can functionally blind a bird for 5–30 seconds — long enough that a nocturnal bird "could not effectively hunt" — and Audubon's ethics guidance says never to use direct flash on birds. Infrared is invisible to them and doesn't disturb them; the trade-off is black-and-white images and, with no-glow IR, about 30% less range.
Can I photograph hummingbirds with a trail camera?
Not with a standard one. Hummingbirds flap ~50 times a second and can empty a flower in under a second, which is faster than a normal camera's half-second trigger, and their tiny bodies barely register on a PIR sensor. Capturing them takes a specialized setup: separated sensors for advance warning plus a high-speed video camera shooting over 200 frames per second.